Journal

4th July Inside Demo by Alan Edwards.

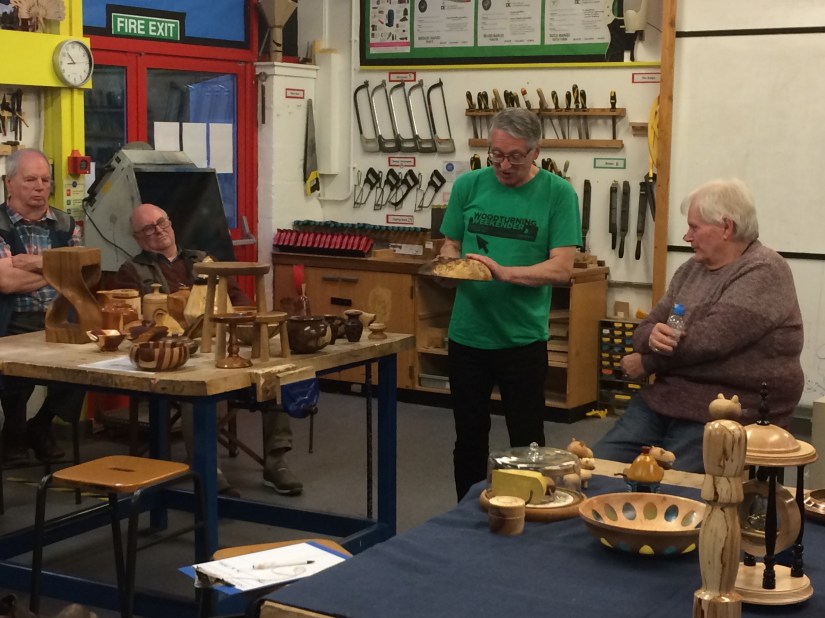
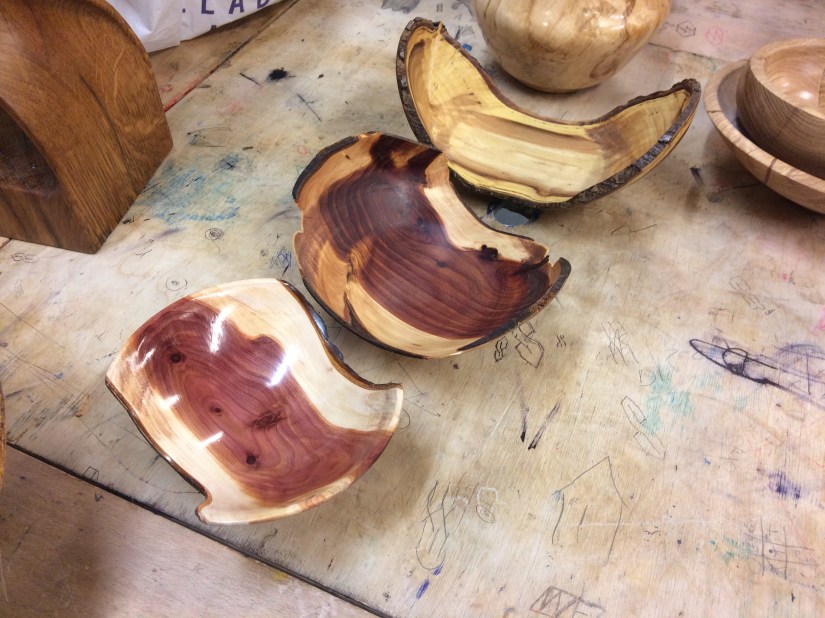
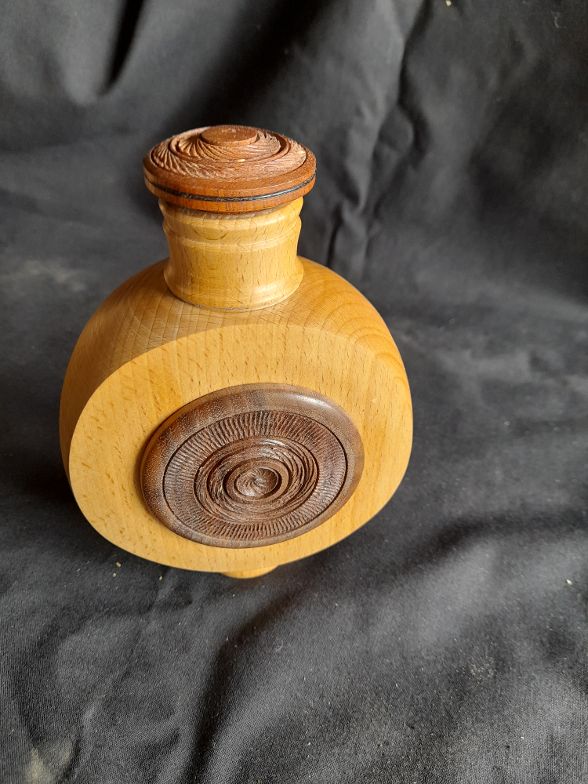
Alan chose to demo a flask ,first showing the marked out beech blank (2″X 4.25″ X 6.5″) with a hole pre-drilled for a screw chuck.

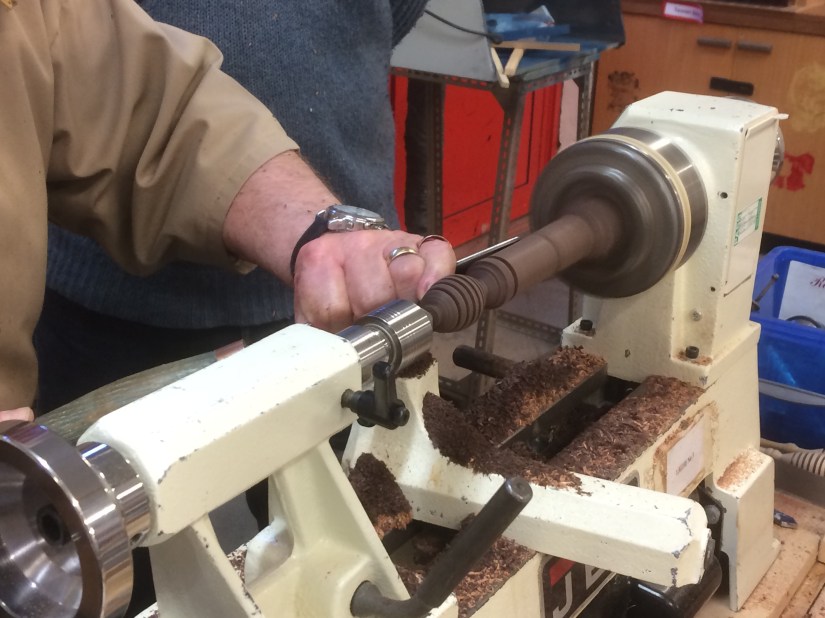
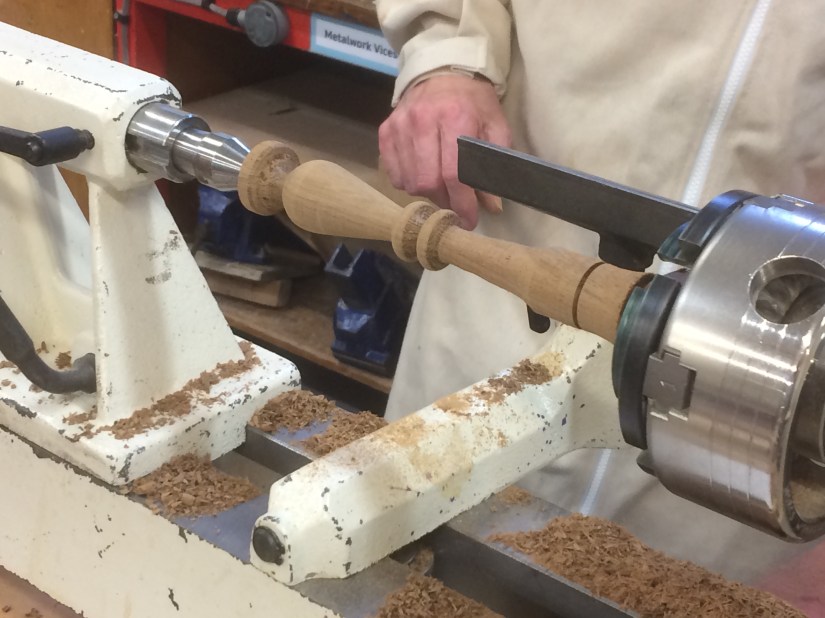
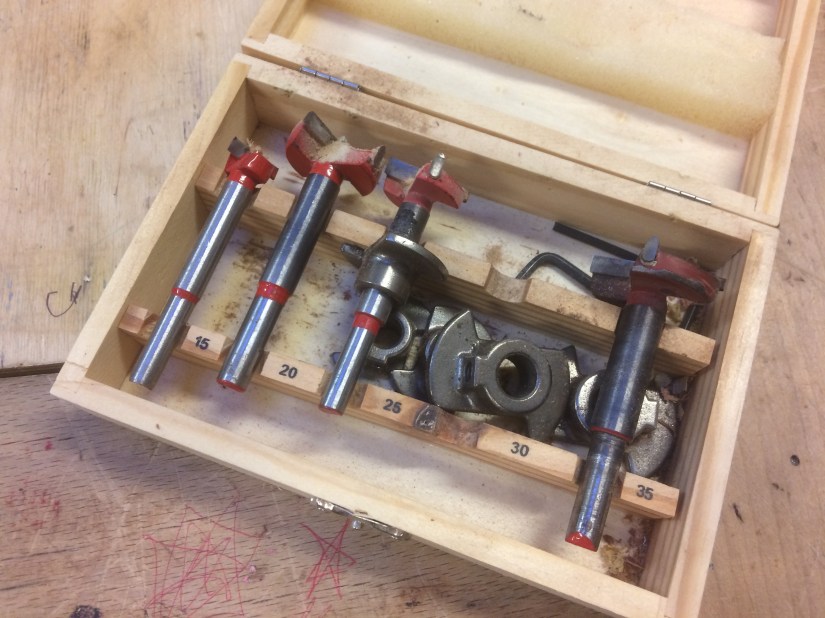
Between centres he cut a dovetail using a 1/2″ round skew then reversed the piece into the chuck jaws and roughed out the shape with a 3/8″ bowl gouge before drilling a 20mm hole with a carbide forstner bit and completing the stopper taper of 1mm over 20mm.

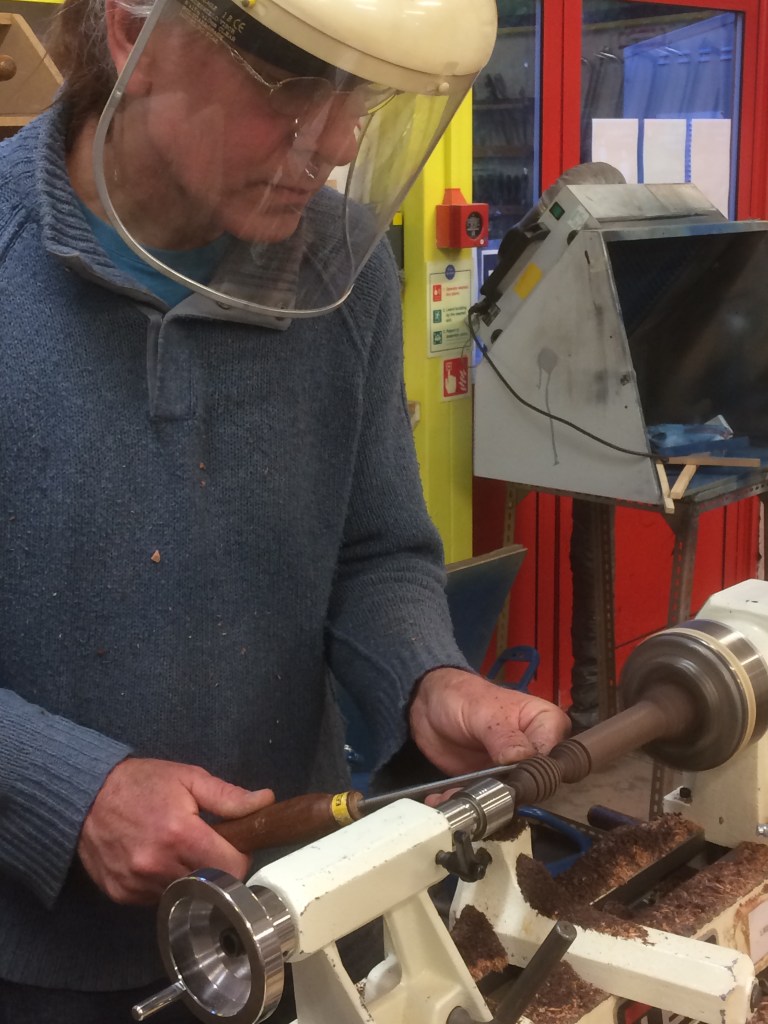
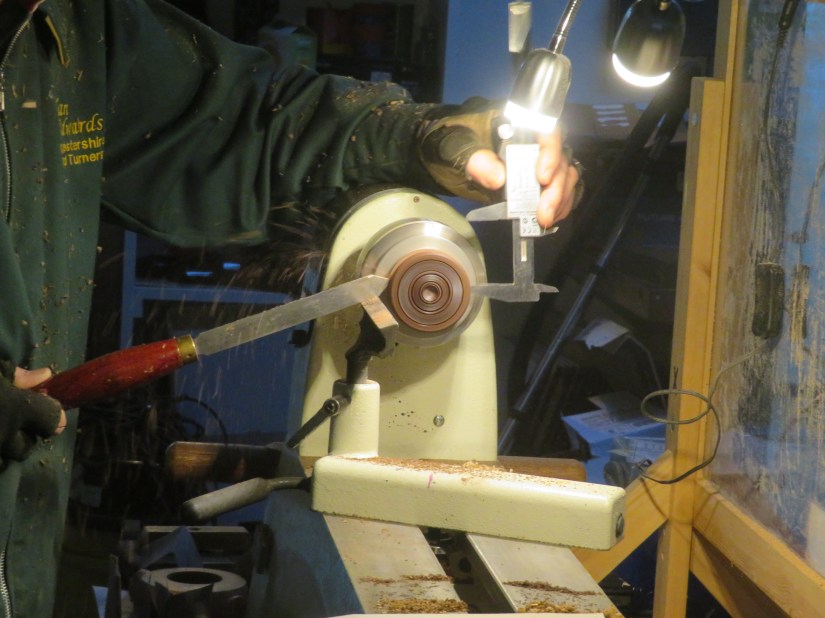
The outside was cut at 1600 rpm as 60% of the time tool was cutting fresh air so more air than wood was meeting the tool – the safest way is always to present tool first to tool rest, pick up the bevel then the cut. Alan attached, using double sided tape, a paper outline that made it easier for members to see the profile being cut on the screen.

  • Make dovetail
  • at 1500 R.P.M
  • carbide forstner bit

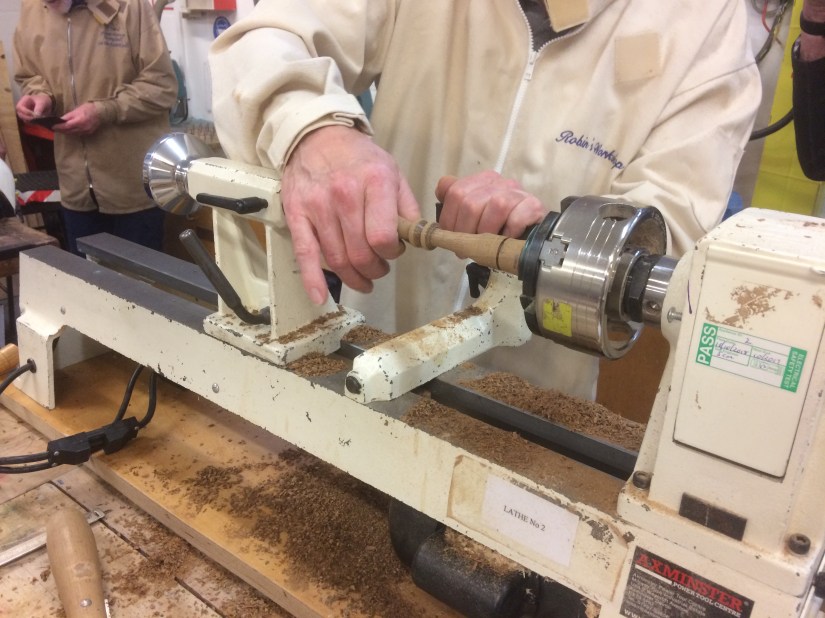
Re inserting the tail stock centre he finished, turned, sanded and put cellulose lacquer on the outside form. He then started a stopper forming the taper to match the flask and used it as a jam chuck to finish the base of the flask.

  • sand & polish

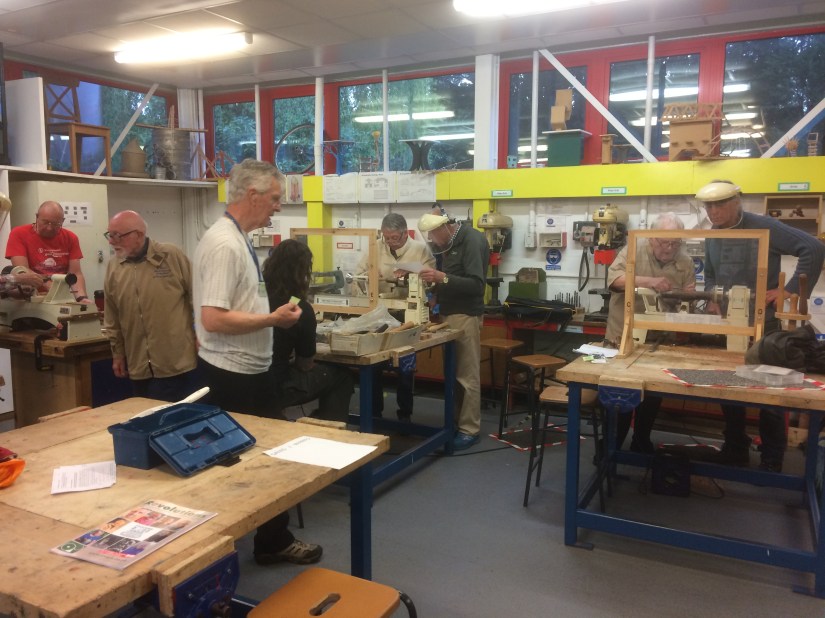
First time for a while we had a normal break with tea and coffee making facilities available plus biscuits thanks to Roy Hadland.

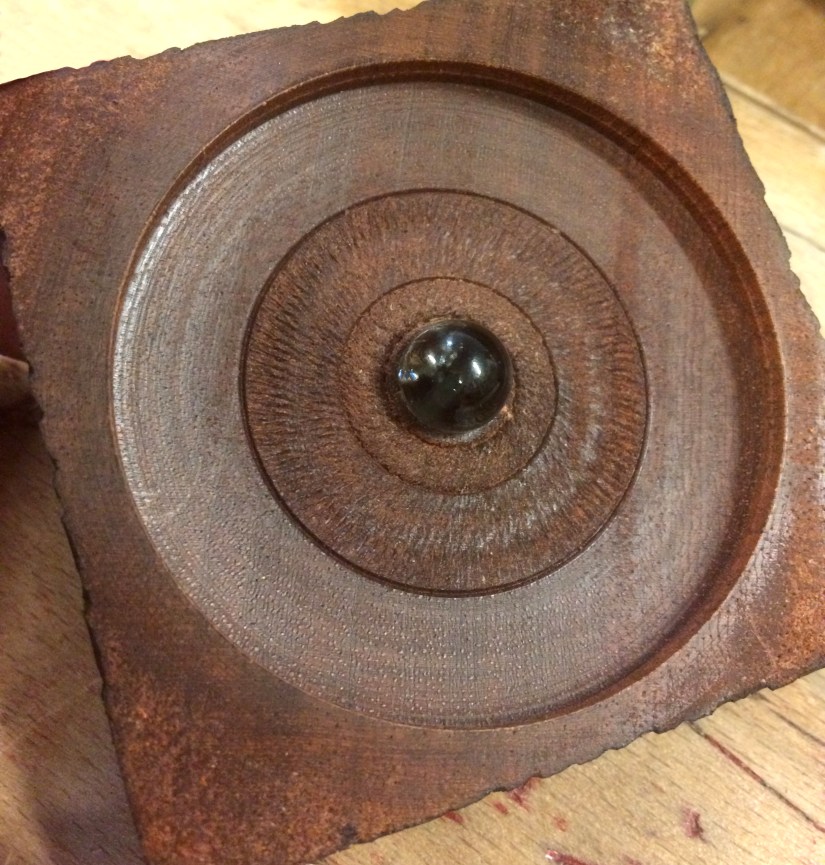
Mounting the blank on a screw chuck using the pre-drilled hole Alan then faced this side of the flask chamfering the edge to remove the rounded edge formed by sanding, hollowing out the inside of the flask with a Robert Sorby hollowing tool, bowl gouge & 1/2″ skew whilst maintaining the 52mm aperture ( the ideal diameter for standard chuck jaws) which was used to remount and finish hollowing from the other side.

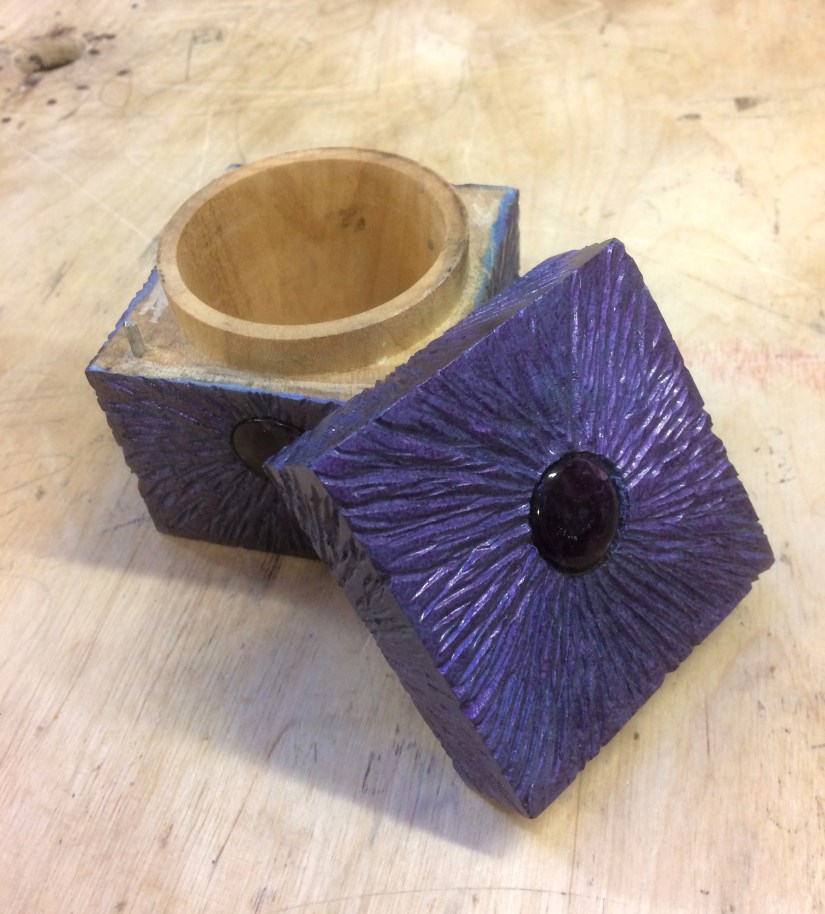
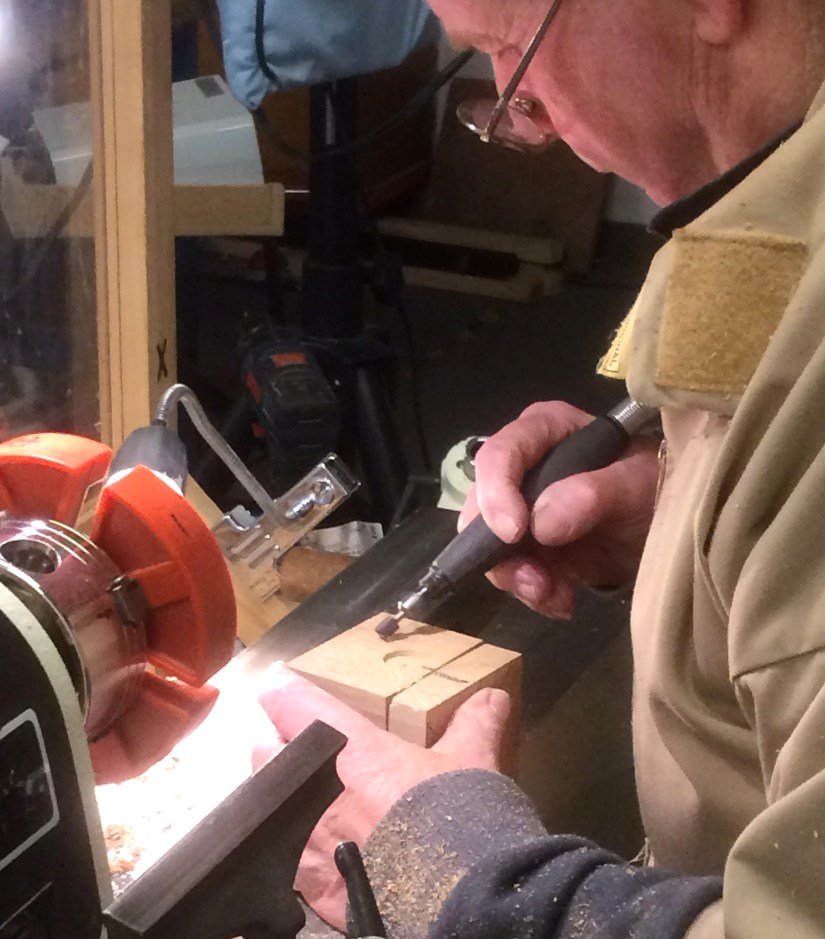
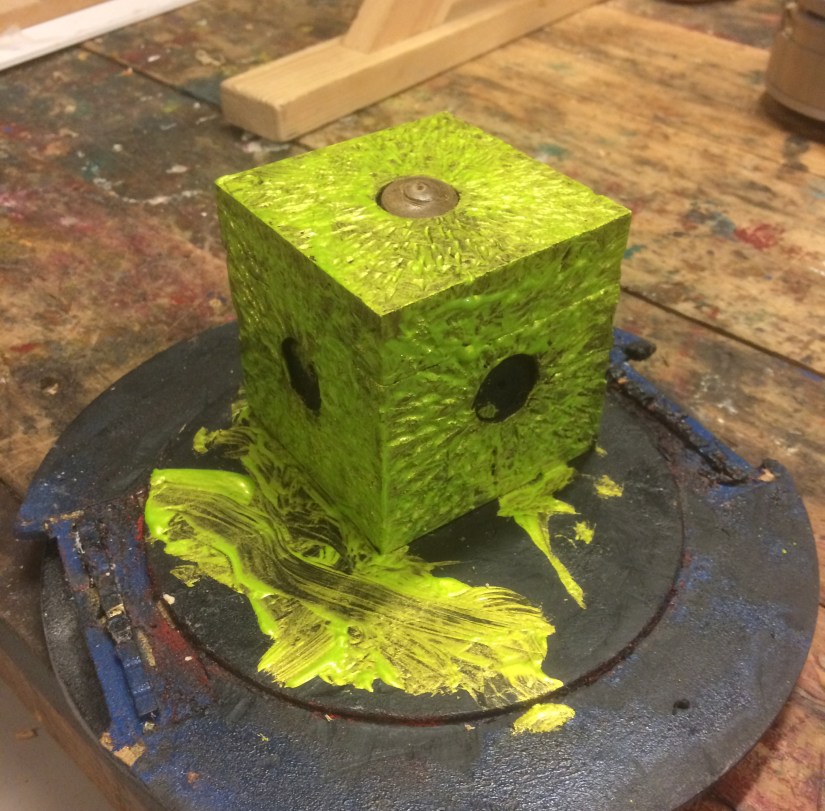
Final actions were to finish the stopper using a jam chuck, decorating the surface using the “DECORATING ELF” by Sorby and making the two side panels 62mm diameter stepped to 52mm to fit the holes in the completed flask – again textured with the decorating elf.

A good evening enjoyed by all those present with plenty of the usual banter followed by questions and answers and Alan being thanked in the usual way.

June 20

Pro External Demo by Tony Jones

Tonight we were treated to a demonstration of how to turn a winged bowl in sycamore and the problems that you might encounter. First he marked the bowl out and explained how he proposed to create the spigot and the tools he uses. He then turned the bottom half of the bowl.

After the break he showed us how to turn the inside of the bowl to match the diameter of the lower half of the bowl before completing the wing and finally the bowl interior. Throughout the process Tony was explaining what he was doing and the problems you might come across on the way.

Finally he displayed other bowls that he had made from a variety of woods and some of the tools he uses to produce them.

A big thank you to Tony from the club for the informative way he dealt with the various questions that arose – and for dealing with the problems thrown up by the faulty video!

June 6

Project Gallery

Tonight was a thoroughly entertaining and informative insight into what everyone gets up to in their workshops. First we heard contributions from a number of members on the subject “Something made from more than one material”

Other items from the night included Keith’s ash bowl with coloured resin inserts, Roy’s clock, a selection of pens made by Robert and Geoff’s animals.

Next a number of people got up and talked us through a variety of projects that they had undertaken and how they had solved a range of problems that occured.

A very interesting and informative evening all round! Thanks to everyone that contributed.

Monday May 16

Hands On Evening

An enjoyable evening was had by the small but enthusiastic turnout – making honey dippers to a design devised by our chairman Alan. Despite problems finding late replacement lathe leaders (everyone wishes you a speedy recovery Roy) the evening was a great success.

4 April

Inside Demo by Geoff Davis

Square Lidded Box with texturing and colouring

Geoff began by drilling a small hole in the piece to help with registration further down the line. He then parted off the lid and drilled out the main body with a Forstner bit (a bargain buy from Amazon!) He finished the aperture with a box scrapper which he explained is a much under – rated tool for this (and other) jobs before fitting the two parts together.

After the break he then showed us all his custom made chuck for holding this square piece while he used a texturing tool on the inside of the lid. He then assembled the box and drllled 2 – 3mm holes in the sides ready to accept an insert but unfortunately Geoff had left these in a box at home (along with his marbles and superglue!)

With the box now completed Geoff then demonstrated his technique of texturing the outside of the piece with a Dremel before painting with iridescent paint.

I think everyone who was there would like to thank Geoff for such an entertaining and informative demonstration – and bang on time as well!